
Creating the perfect Power Ranger costume can be an exciting yet overwhelming task, especially when it comes to selecting the right materials. This guide walks you through a thoughtful step-by-step process, ensuring you choose fabrics, colors, and accessories that not only capture the essence of your favorite character but also provide comfort and durability. Whether you’re dressing up for a fun-filled event or helping your child bring their favorite superhero to life, this guide is designed with empathy, understanding the joy and creativity involved in costume-making. With helpful tips and suggestions, you’ll feel confident and inspired to craft a stunning Power Ranger costume that truly stands out.


Your Ultimate Guide to Power Rangers Cosplay
Identify Your Power Ranger Character
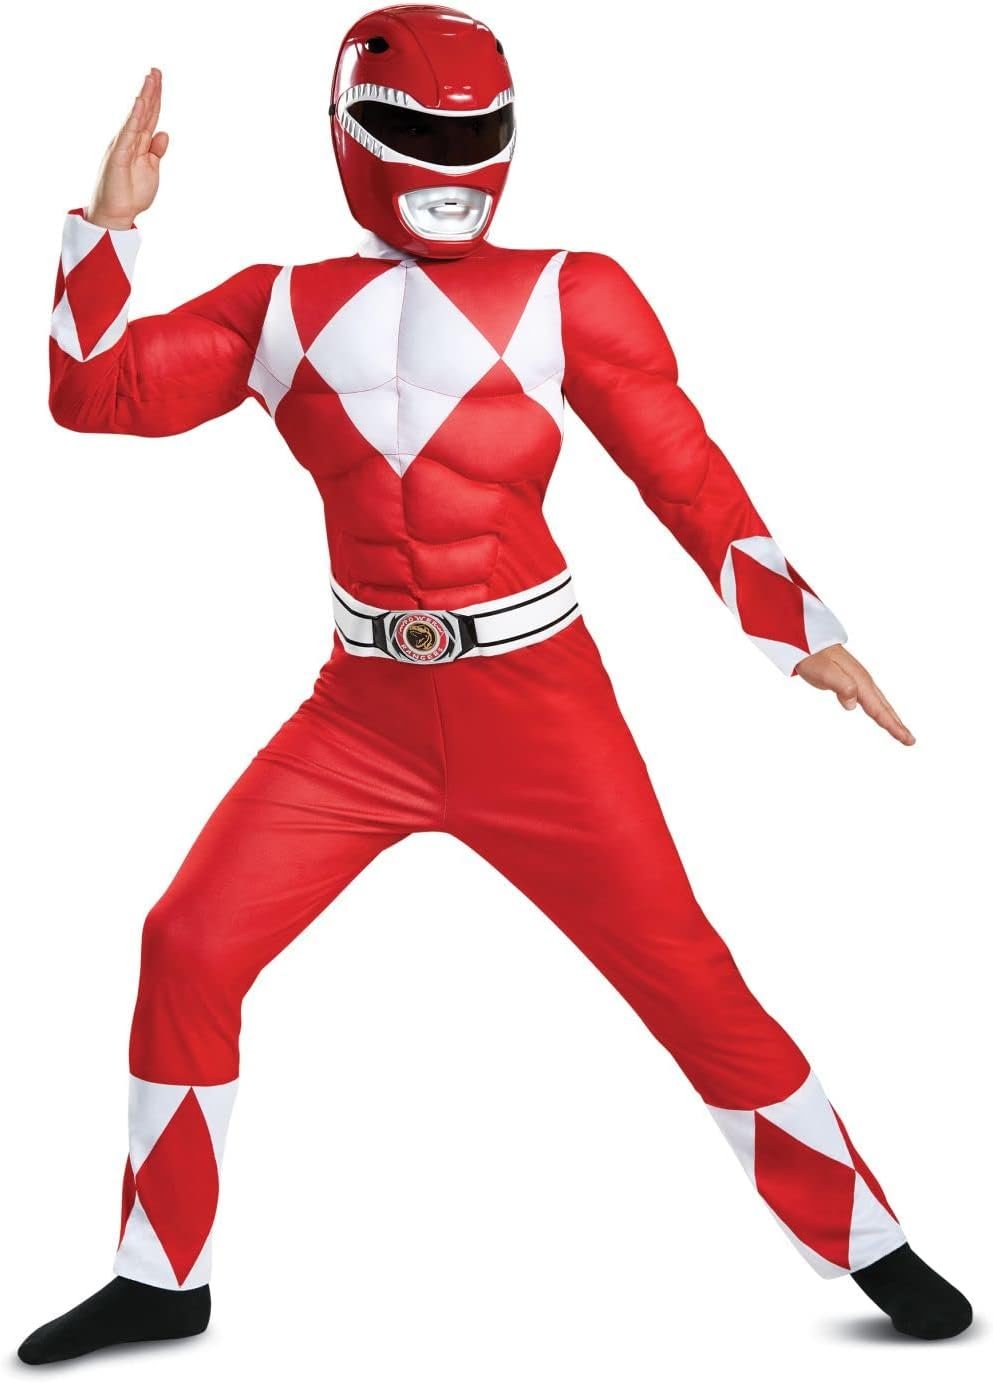
Select one Power Ranger character to emulate based on your personal style and preferences. Examine the specific colors, designs, and features of that Ranger, noting their distinctive elements. Consider how these aspects will influence the materials you choose for your costume. Focus on matching the character’s signature color and style while incorporating your unique flair into the final look.
Research Character Details
Search for high-quality images of your chosen Power Ranger character across various platforms; consider using Google Images, fan sites, or official merchandise pages. Focus on capturing all aspects of the costume by examining color schemes, patterns, and distinct accessories. Analyze each element closely, such as the helmet design, gloves, boots, and any unique markings or symbols. Make notes of specific details that stand out and are crucial for replicating the character accurately.
Select Base Fabric
Select a base fabric that harmonizes with your character’s primary color. Opt for spandex for a form-fitting option that offers flexibility, making it ideal for action-oriented characters like superheroes. Choose cotton for a breathable, soft feel, suitable for casual or relaxed characters like everyday heroes or adventurers. Consider polyester blends for a durable choice that resists wrinkling and fading, perfect for characters in vibrant, colorful ensembles.
Consider Armor and Decorative Elements
Decide whether your costume will feature armor or decorative elements based on your character’s style and needs. Choose materials such as EVA foam or craft foam, which are lightweight and easy to work with, for creating 3D features like helmets, chest pieces, and gauntlets. Sketch out your design first, marking the measurements and contours that will fit your body shape. Cut the foam pieces according to your design, use heat to shape them if necessary, and then glue or assemble them securely, ensuring they align perfectly with the rest of your costume.
Choose a Suitable Lining
Choose a lining fabric that feels comfortable against your skin, especially for multi-layered costumes. Opt for lightweight materials like cotton or silk, as these promote breathability and reduce discomfort during wear. Prioritize soft textures that won’t irritate your skin, ensuring you can move freely and stay comfortable throughout your event. Consider the overall weight of the costume and select a lining that complements the outer layers without adding unnecessary bulk.
Select Accessories Materials
Select materials that enhance the overall look of your costume. Consider using felt for belts as it offers a soft texture that can be easily shaped and colored to match your ensemble. Opt for vinyl when crafting gloves; its shiny, sleek appearance adds a modern touch and durability. Incorporate reflective materials for visors to achieve a striking visual effect while providing added safety and visibility. Remember, the right accessories can truly elevate your costume experience!
Gather Necessary Tools
Gather sewing machines, ensuring they are in good working condition and have the correct needle and thread for your fabric. Select sharp scissors to make precise cuts and avoid fraying. Find a reliable hot glue gun and enough glue sticks for your project, as these will help secure pieces together quickly. Collect any additional crafting tools you may require, such as rulers, measuring tapes, and fabric markers, so you’re fully prepared to start construction.
Plan Your Budget
Calculate how much you are willing to spend on materials by assessing your overall budget first. Break down the total budget into specific categories for each project. Consider the following factors:
- Identify essential materials versus optional ones.
- Set a maximum limit for each category, such as fabric, thread, or embellishments.
Research where to buy fabrics and materials by exploring both online and local craft stores. Make a list of reputable vendors and check their sales or discounts. Don’t forget to:
- Compare prices across different platforms.
- Read reviews for quality assurance.
- Visit local stores to see items in person whenever possible. This way, we can ensure we stay within our budget while sourcing the best materials for our projects.
Purchase Materials
Finalize your material list and budget, then head out to purchase the necessary items. Confirm you have enough of each material based on your costume’s design; for example, if your costume requires a cape, check the length of fabric needed along with any trim or embellishments. Gather all items in your shopping cart, such as threads, paints, and any accessories like buttons or zippers, and always buy a little extra to account for mistakes or adjustments. Keep your receipts safe, as they may come in handy for returns or exchanges later on.
Final Tips and Considerations
In conclusion, choosing the right materials for a Power Ranger costume is all about blending creativity with practicality. By paying attention to your character’s details, selecting appropriate fabric types, and carefully considering accessories, we can create a truly outstanding and authentic costume. With these insights in hand, we’re excited for you to unleash your inner Power Ranger and enjoy the transformation!
Essential Gear Checklist

Material Selection Made Easy
Step-by-Step Guide to Creating Your Own Power Ranger Costume for All Ages
- Choose Your Ranger: Start by deciding which Power Ranger character we want to represent. Each Ranger has distinct colors and emblem designs, so selecting our favorite will make it easier to gather materials
- Gather Materials: Collect all the necessary supplies such as fabric (in the chosen color), foam sheets for accessories, a base outfit like a jumpsuit or leggings and a T-shirt, and craft glue. Don’t forget about face paint or masks for a complete look!
- Create the Costume: Use the fabric to create the main costume. We can sew or use fabric glue to attach pieces together. For fun details, like the iconic diamond patterns, we can cut shapes from contrasting colored fabric or foam and adhere them to our outfit
- Make Accessories: Power Rangers have unique helmets and gadgets! We can make simple helmets using cardboard or craft foam and customize them with paint. For accessories like belts and weapons, feel free to get creative with DIY methods or even household items
- Perfect the Look: Once our costumes are ready, let’s add the finishing touches. This might include face paint to match our Ranger’s look or unique hairstyles to embody our character fully
- By working on this together, we can make our Power Ranger costumes a fun and rewarding project!
Create Your Own Ranger: Costume Tips for All Ages
Creating Power Ranger morphers for kids’ costumes can be a fun and engaging project! Here’s a step-by-step guide we can follow to make some wearable morphers that look great and are easy to put together:
Materials Needed:
- Foam Sheets or Cardstock – These will form the base of the morpher.
- Hot Glue Gun and Glue Sticks – To attach different pieces together.
- Acrylic Paint – To decorate the morphers in the colors of your chosen Power Ranger.
- Scissors – For cutting the foam or cardstock.
- Elastic Bands or Velcro Strips – For fastening the morpher around the wrist.
- Decorative Items – Such as stickers, markers, or gems to make it visually appealing.
Step-by-Step Instructions:
- Design the Morpher: Start by deciding on the shape and size of your morpher. Typical designs resemble a rectangle or rounded rectangle that fits comfortably on a child’s wrist.
- Cut the Base: Using the foam sheets or cardstock, cut out the morpher shape you designed. Make sure it is not too large, so it fits well on a child’s wrist.
- Paint and Decorate: Once you have your base, use acrylic paint to cover it in the desired Power Ranger color. We can also add the Ranger’s logo or other designs using paint or stickers.
- Create the Fastening: Attach elastic bands or Velcro strips to the inside of the morpher. This will allow the kids to easily put it on and take it off without assistance.
- Add Details: Enhance your morpher with additional decorations. We can use markers to add outlines or draw symbols that represent the Power Ranger’s powers.
- Final Touches: Once everything is dry, make sure everything is securely attached and comfortable for wear. Check the fit on the child’s wrist to ensure it’s not too tight or too loose.
This project promotes creativity and can be a great bonding activity. Plus, kids will love having their custom morphers to wear and play with while dressed as their favorite Power Rangers! Happy crafting!
David Rangerstone is a passionate writer and the creative force behind power-ranger.us. With a lifelong love for Power Rangers and a deep appreciation for the intricate designs of their iconic costumes, David combines fandom with fashion. Through engaging articles and detailed how-to guides, David brings the world of Power Rangers to life for fans and cosplayers alike, offering expert insights and creative inspiration. Whether exploring the history of Ranger suits or crafting the perfect cosplay ensemble, David ’s dedication shines through in every piece of content.


I just made my first Power Ranger costume using the guide, and it turned out amazing! I went with a spandex base fabric for the Blue Ranger, and it hugged perfectly. Just remember to check your measurements before cutting! I can’t wait to show off my creation at the convention!
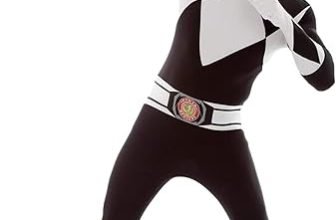
I made a Mighty Morphin Black Ranger costume last Halloween using your guide, and everyone loved it! I used EVA foam for the armor, and it really made a difference in the look. Just a tip: make sure to paint the foam properly with a spray paint like Rust-Oleum for that authentic finish!
Great idea! Weatherproofing is definitely something many cosplayers overlook. I’ll make sure to include tips and product recommendations in upcoming articles! Thanks for the suggestion! 🌟
Hey, I’d love to see a section on how to weatherproof your costume materials! I made a Green Ranger costume once, and rain ruined it during the parade. If you could cover tips on making it durable for outdoor events, that’d be awesome! Maybe even suggest specific spray sealants or treatments? 🤞
I’m looking to go all out with my Pink Ranger costume but need some advanced tips on how to create those sleek lines and curves in the armor! Any specific techniques or materials you recommend for beginners but that also look professional?